We want to present you the CNC accessory that you might find very useful as well as beneficial to add to your machine – CNC machine keyboard.
Why would you need CNC keyboard
Having a Mach4 CNC machine is very convenient, since the software can run on any PC or laptop and you only need to connect the CNC controller via USB or ETHERNET. The only drawback is that usually, the only input for commands is either the computer keyboard or mouse. You have to move with the mouse to the appropriate button and control the machine.
For that reason, the machine pause and similar commands that have to be quiclkly accessed, can become time consuming. In the time to press the button or reduce the feedrate, the machine can already crash. That is why industrial machining centers have dedicated buttons and keyboards so that commands can be entered quickly.
For that reason, we developed the custom keyboard, that can pair with the basic CNC machine functions so that they can be quickly accessed and pressed. The functions are adapted also to the Mach software and machine can be controlled via this keyboard.
Optimal keyboard layout
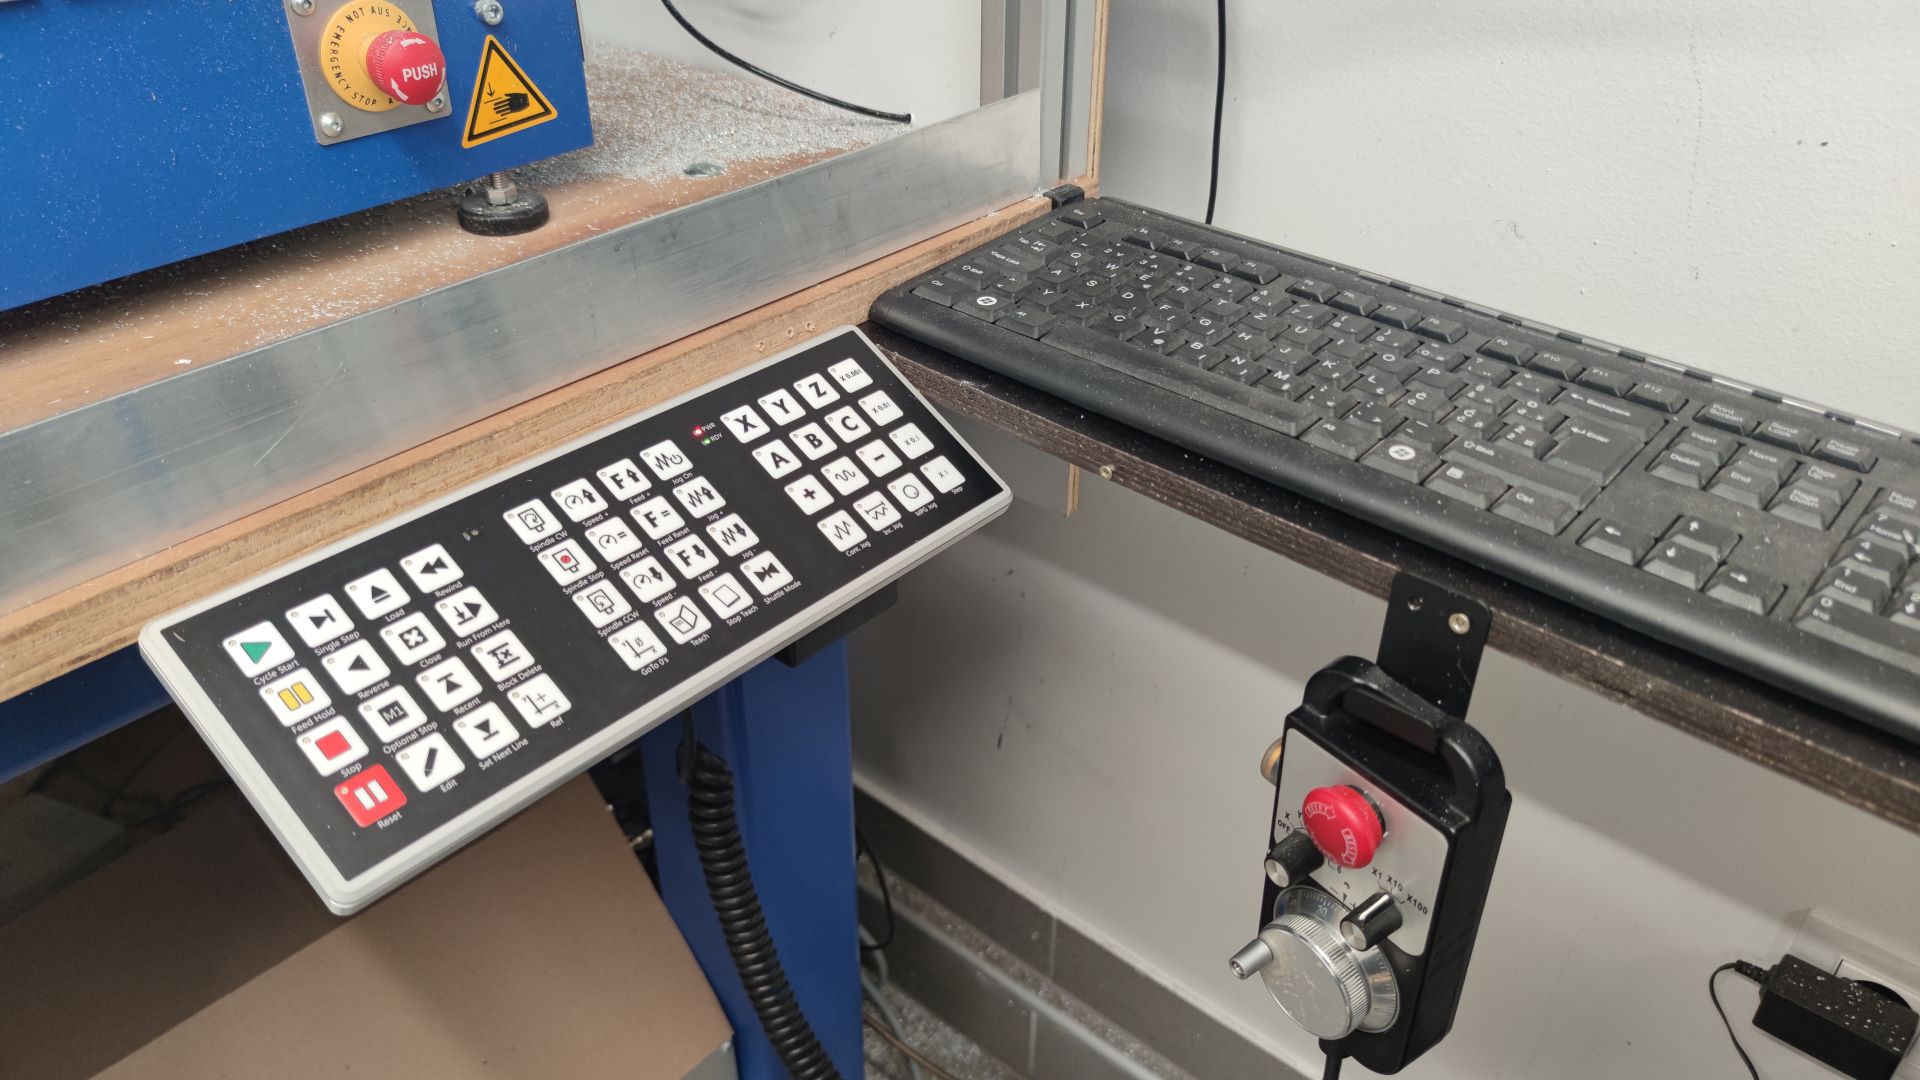
Our CNC machine keyboard consists of three diferent zones. Far left side is dedicated to program commands, feed and speed overrides are located in the middle and on the right side there is jogging buttons. The program commands allow you to start, pause and stop the program as well as reset the machine. There are 12 more commands there with which you can edit the program or functionality.
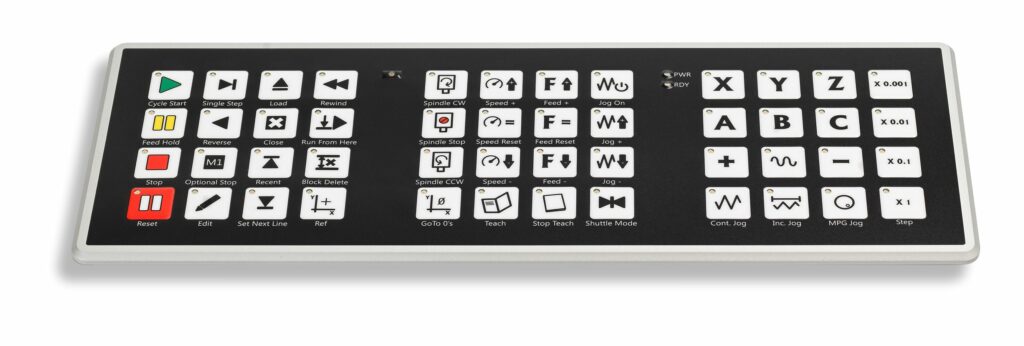
The override buttons consist of spindle commands for start and stop but also to change the spindle speed with override. There are also feed rate override (FRO) buttons that allow you to adjust the cutting speeds on the fly to change the cutting conditions. The jog commands allow you to move the machine with buttons instead of the mouse clicks on the screen. There is also the jogging possiblity using our CNC pendant.
CNC keyboard pinout and connection
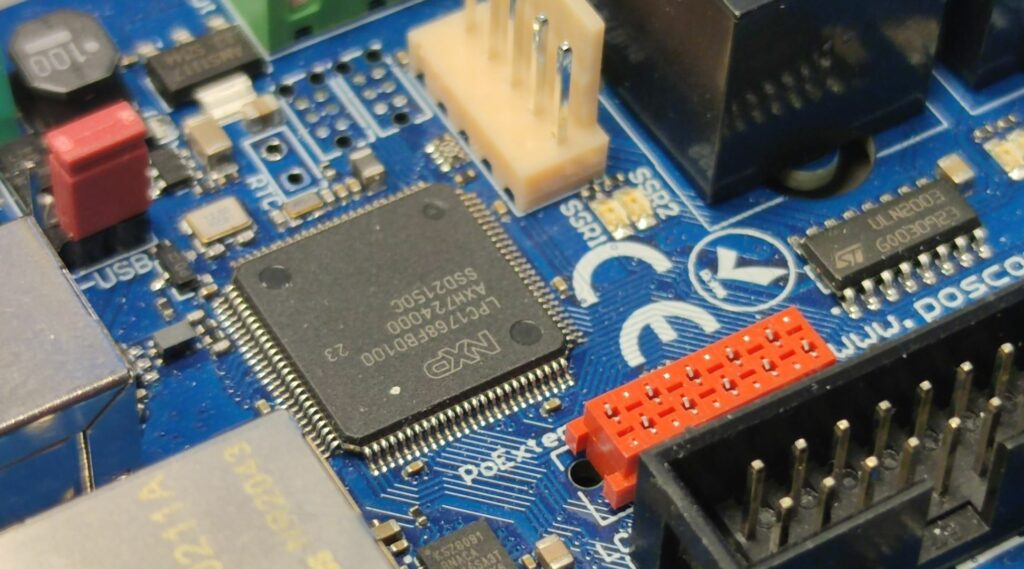
Our CNC keyboard is plug&play with our PoKeys57CNC controller. It is shipped with all the wiring cables that you need. We recommend using CAN bus for connecting since it is much more robust compared to I2C. For I2C operation it comes with I2C extender for better signal integrity but we still recommend using CAN.
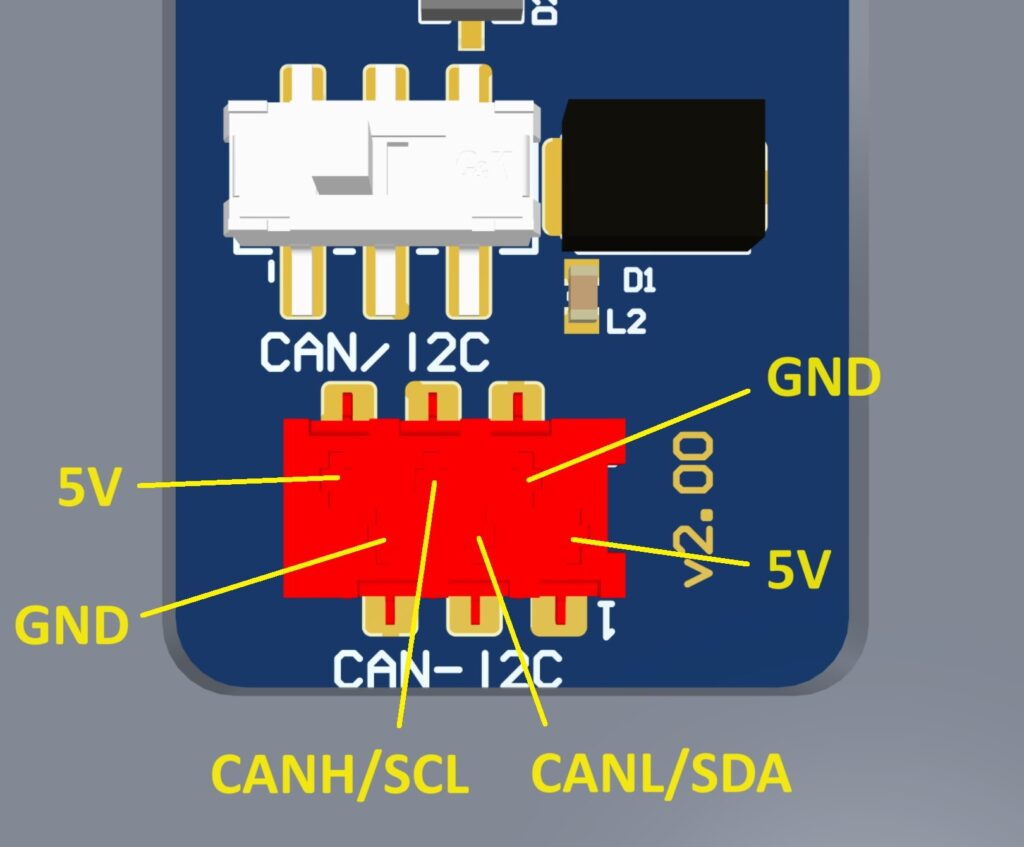
To connect it to other devices the pinout is provided for proper wiring. There is a switch at the back of the keyboard for selecting I2C or CAN for communication and 6 pin connector is used for connecting the cable. The SDA/SCL or CANH/CANL pins are accessible there as well as 5V power supply to the keyboard for proper operation.
The keyboard has robust aluminium frame for mounting it to the different types of enclosure with 10 pcs M3 screws. Only one additional hole has to be made for passage for cable for connection. The keyboard is waterproof and resistant to dust contamination. It has membrane keyboard which is very durable and resistant to wear.
Machine keyboard on our CNC machine
We were recently testing the new version of our CNC controller (comming soon) on our CNC machine. Testing and confirming the compatibility of our other products is essential for us so we connected and mounted the keyboard on our machine. We can confirm that it greatly benefits the usability of the machine (and it also works with new controller). Check out also our other CNC upgrades and additions such as Mach4 probing.
Custom keyboard or electronics
We also offer custom layout of our keyboard so if you are interested, let us know by opening ticket on our support site. We also offer development services for all kinds of electronics so let us know your problem and we can help you find the solution.
Related Posts